Whip Up Fluffy Oreo Frosting: Your Easy 4-Ingredient Recipe to Dessert Bliss
Imagine a cloud of sweet, creamy frosting, generously studded with the iconic chocolatey crunch of Oreos. Now imagine creating that delectable dream in your own kitchen with just four simple ingredients. Too good to be true? Not at all! Get ready to discover the ultimate easy Oreo frosting recipe that promises to transform your desserts from delightful to absolutely divine. Perfect for cakes, cupcakes, brownies, or even enjoyed straight off the spoon, this recipe delivers maximum flavor with minimal fuss. In the world of sweet delights, Oreo frosting stands out as a truly decadent treat. It perfectly combines the rich creaminess of a classic buttercream with the unmistakable, bold flavors of America's favorite cookie. Whether you're planning a birthday bash, a bake sale, or simply craving a comforting indulgence, this irresistible frosting is guaranteed to impress with its smooth texture and nostalgic taste. And the best part? It's incredibly straightforward to make, proving you don't need a culinary degree to master something truly spectacular.The Magic of 4 (Plus a Flavor Enhancer): Unveiling Your Simple Oreo Frosting Ingredients
The beauty of this recipe lies in its elegant simplicity. While many frostings require a lengthy list of components, we're focusing on just four core ingredients to build a luscious, fluffy base, with a highly recommended fifth for an extra burst of flavor. This approach ensures your Oreo frosting is both accessible and absolutely delicious. Here's what you'll need:- Unsalted Butter: The foundation of any great buttercream, butter provides the essential creamy base and rich mouthfeel. We strongly recommend using unsalted butter so you can control the overall saltiness. Ensure it's at room temperature – this is crucial for achieving a smooth, lump-free frosting that whips up beautifully.
- Powdered Sugar (Confectioners' Sugar): This superfine sugar sweetens the frosting and gives it its structure and silky texture. Unlike granulated sugar, powdered sugar dissolves easily, preventing a gritty result. If you find yourself without it, you can make your own by blending granulated sugar in a high-speed blender until it reaches a fine, powdery consistency.
- Heavy Cream: The secret to that coveted light and fluffy texture! Heavy cream incorporates air, making the frosting airy and luxurious. While milk can be used as a substitute, heavy cream will yield a significantly creamier and more decadent result.
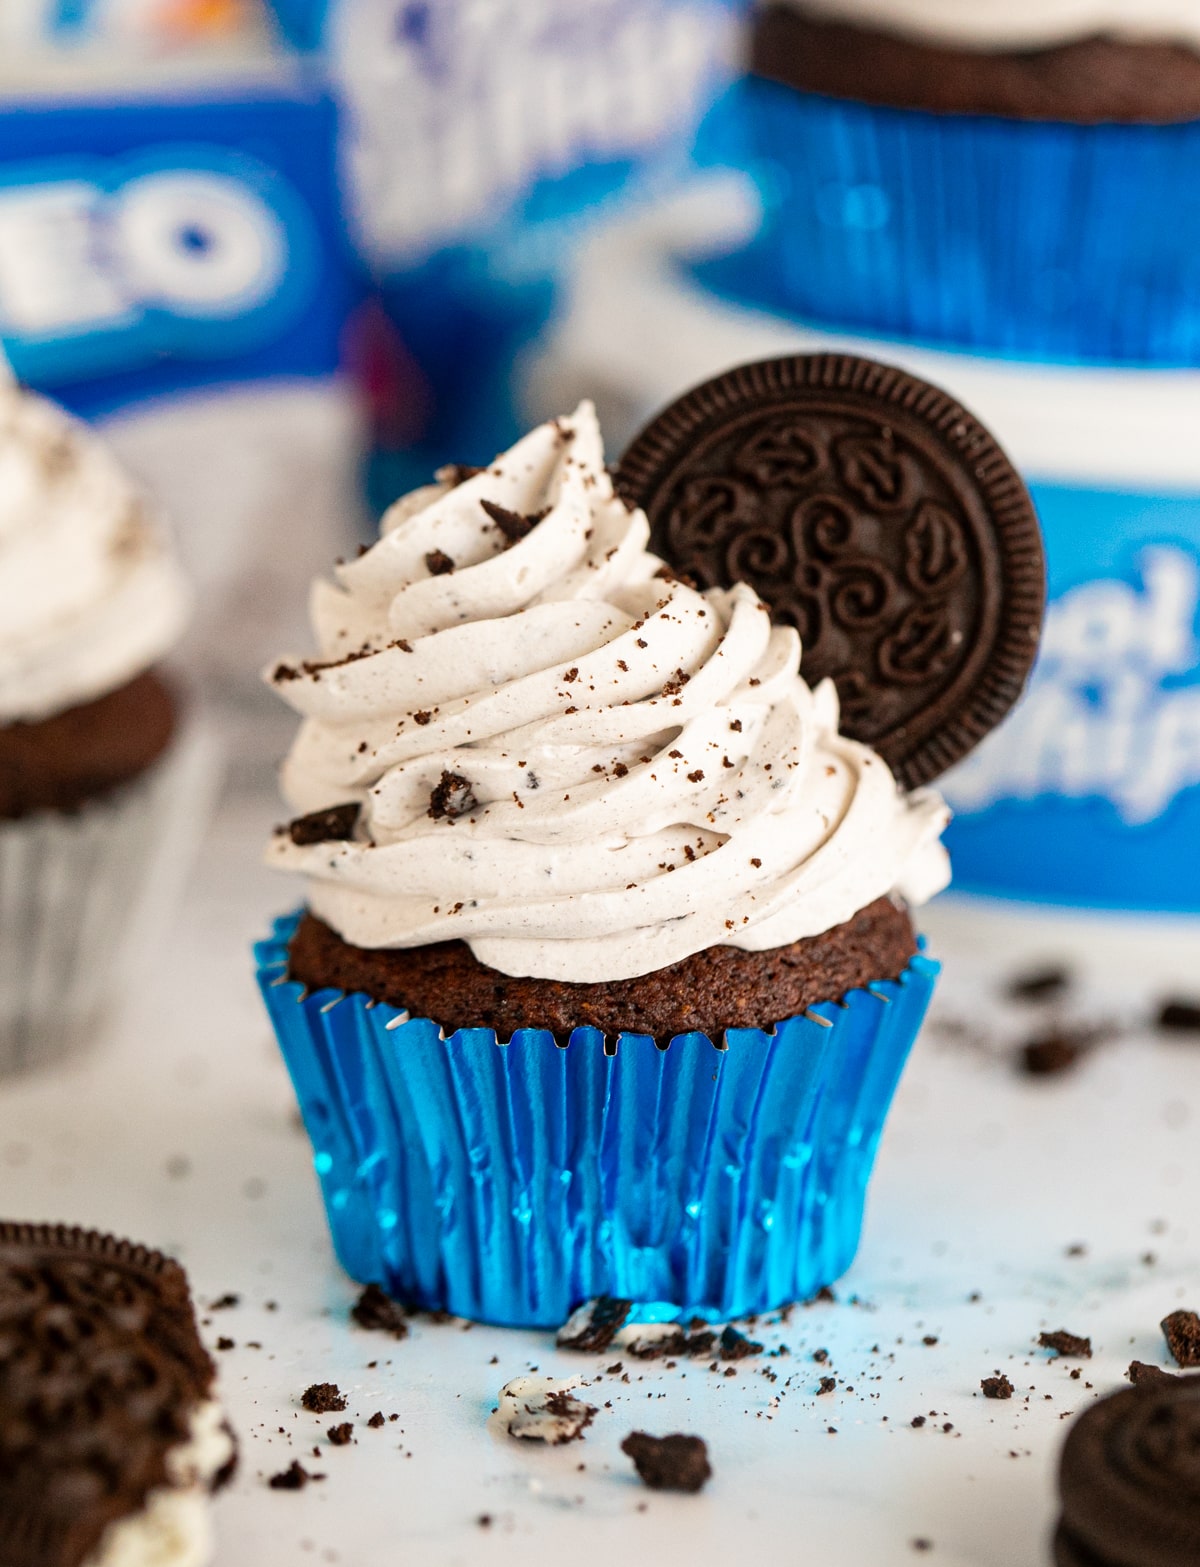
- Oreo Cookies: The star of the show! These iconic chocolate sandwich cookies infuse the frosting with their signature flavor and delightful crunch. Feel free to adjust the quantity based on your preference – more for an intense Oreo experience, less for a subtle hint. If Oreos aren't available, any similar chocolate sandwich cookie will do in a pinch.
- Vanilla Extract (Optional, but Highly Recommended): While not one of the core four for the "4-ingredient" claim, a dash of pure vanilla extract elevates the flavor profile, enhancing the sweetness and complexity of the frosting without overpowering the Oreo goodness. A splash of bourbon or maple syrup can also offer a unique twist if vanilla isn't on hand.
Whipping Up Perfection: Step-by-Step Guide to Fluffy Oreo Frosting
Creating this easy Oreo frosting involves minimal steps, leading to maximum satisfaction. A stand mixer or a good hand mixer will be your best friend here, ensuring the aeration needed for a truly fluffy consistency.- Cream the Butter: In a large mixing bowl, beat your softened, room-temperature unsalted butter on medium speed until it's light and fluffy, about 2-3 minutes. This initial creaming incorporates air, setting the stage for a light frosting.
- Gradually Add Powdered Sugar: With the mixer on low speed, begin adding the powdered sugar, about half a cup at a time. Beat well after each addition until fully incorporated. This gradual approach prevents a "sugar cloud" in your kitchen and ensures a smooth blend. Continue until all the sugar is added and the mixture is thick and crumbly.
- Add Cream and Vanilla (if using): Pour in the heavy cream and vanilla extract (if using). Increase the mixer speed to medium-high and beat for another 3-5 minutes. During this stage, the frosting will transform, becoming wonderfully light, airy, and truly fluffy. Don't skimp on this mixing time – it's key to the texture!
- Prepare Your Oreos: While the frosting is whipping, prepare your Oreo cookies. For the best results and a smooth frosting, crush the Oreos very finely. You can do this in a food processor or by placing them in a Ziploc bag and crushing them with a rolling pin. If you prefer more distinct chunks for added texture, leave some pieces slightly larger.
- Fold in the Oreos: Reduce the mixer speed to low and gently fold in the crushed Oreo cookies until just combined. Be careful not to overmix, as this can affect the frosting's texture.
Beyond the Bowl: Creative Ways to Enjoy Your Oreo Frosting
The versatility of this Oreo frosting is one of its greatest advantages. It's not just for cupcakes! Its rich flavor and creamy texture make it suitable for a multitude of desserts, allowing your culinary creativity to shine. * Classic Cake Topper: Spread it generously over a rich chocolate cake, vanilla cake, or even a red velvet cake for an instant upgrade. * Cupcake Perfection: Pipe elegant swirls onto cupcakes for a bakery-worthy finish. The texture holds beautifully, making intricate designs easy to achieve. * Brownie Bliss: A thick layer of Oreo frosting on fudgy brownies is an unbeatable combination, adding a layer of creamy indulgence to every bite. * Cookie Sandwiches: Use it as a filling between two chocolate chip cookies, sugar cookies, or even more Oreos for an ultra-cookie experience. * Pie Enhancer: A dollop on top of a chocolate cream pie or a no-bake cheesecake can elevate these desserts to new heights. * Dessert Cups & Trifles: Layer this frosting with crumbled cookies, whipped cream, and chocolate sauce in parfait glasses for an easy, impressive dessert. * On Its Own: We won't judge if you enjoy a spoonful (or two!) straight from the bowl. It's that good! The possibilities are truly endless, making this recipe a fantastic staple for any home baker looking to add a touch of magic to their creations.Pro Tips for Flawless Oreo Frosting Every Time
While this recipe is incredibly forgiving, a few expert tips can ensure your Oreo frosting is consistently perfect, fluffy, and utterly irresistible.Mastering Consistency and Temperature
- Room Temperature Butter is Non-Negotiable: We can't stress this enough! Cold butter won't cream properly, leading to a lumpy, dense frosting. If your butter is too cold, cut it into smaller pieces and let it sit for a bit, or carefully microwave it in short 5-second bursts until slightly softened but not melted.
- Adjusting Thickness: If your frosting seems too thick, add a tiny bit more heavy cream (half a tablespoon at a time) until you reach your desired consistency. If it's too thin, gradually mix in more powdered sugar until it thickens up.
- Finely Crushed Oreos for Smoothness: For a velvety-smooth frosting, ensure your Oreos are crushed into a fine powder. If you prefer a bit of textural contrast, you can leave some coarser chunks, but remember this will make piping slightly more challenging.
Mixing and Storage Savvy
- Embrace Your Mixer: While hand-mixing is possible, a stand mixer or a good quality hand mixer is highly recommended for the best results. The power of a mixer incorporates more air, yielding that desirable light and fluffy texture. For more in-depth advice on achieving perfect consistency, check out our guide on Master Creamy Oreo Frosting: Essential Tips for Perfection.
- Don't Overmix the Oreos: Once you add the crushed Oreos, mix only until just combined. Overmixing can sometimes cause the frosting to become a bit greyish or release too much oil from the cookies.
- Proper Storage: Store any leftover Oreo frosting in an airtight container in the refrigerator for up to one week. When you're ready to use it again, let the frosting come to room temperature for about 30-60 minutes, then give it a quick stir with a spatula or briefly re-whip it to restore its soft, creamy consistency.
Dietary Considerations
The beauty of homemade frosting is the ability to adapt it! For dietary needs or preferences, consider these substitutions:
- Dairy-Free: Use a high-quality plant-based butter alternative and a dairy-free heavy cream substitute (like coconut cream from a can, chilled and scooped from the top). Ensure your Oreos are dairy-free (most are, but always check the label!).
- Gluten-Free: Use gluten-free chocolate sandwich cookies in place of traditional Oreos.
